Getting the HTML5 Audio Element Working with Jekyll in Development
In this video we'll go over how to use nginx with Docker to serve a local Jekyll site so that you can test your audio player.
Quick Jump:
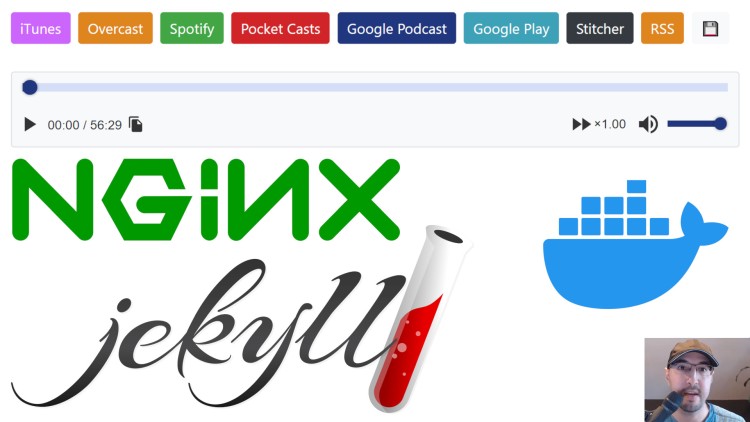
Jekyll is awesome (it’s what powers this site) but when trying to develop a custom audio player for the https://runninginproduction.com podcast, I noticed that the Jekyll server in development didn’t let me stream back the audio.
It would just die out after a second or 2 and all sorts of functionality like jumping to specific time stamps while playing didn’t work. I was able to get around all of this by using nginx to serve the site locally in development and I ended up doing it through Docker.
In a few minutes you’ll be able to do the same thing with your Jekyll set up. The video below goes over everything you’ll need to get up and running.
# Demo Video Going Over the Problem and Solution
Timestamped Table of Contents
- 0:41 – Demonstrating the problem with the audio player
- 2:06 – Taking a quick look at how to implement the default audio player
- 4:03 – Going over a few steps to get things working locally with nginx
- 5:13 – Preparing to run nginx inside of a Docker container
- 6:10 – Taking a quick look at the nginx config file to make this work
- 7:44 – Running nginx in a container and now the audio player works
- 9:13 – Working towards creating a custom audio player with more features
- 10:47 – Taking a look at the upcoming custom audio player